
We have not tested these products. This comparison is reasoned from manufacturer specifications, documentation and warranty terms. How we test
If you buy through a link on this page we may earn a commission. Retailers do not pay for reviews or placement. Prices are shown as bands, never as figures — the live price is at the retailer. As an Amazon Associate I earn from qualifying purchases. How we make money
On this page
The short version
A deep under-desk tray that holds the power strip too, which is what actually matters.
See at Amazon — Uplift Wire Management Tray (opens in a new tab)Two simple low-profile trays that solve most of the problem for very little.
See at Amazon — VIVO Under Desk Cable Tray (DESK-AC06-2C) (opens in a new tab)Sleeves, clips and ties — the consumables that finish the job a tray starts.
See at Amazon — N NOROCME 192-Piece Cable Management Kit (opens in a new tab)Cable management is one of those jobs that goes badly if you do it in the wrong order, because each stage depends on the one before. The step-by-step version, with timings, is the cable management how-to.
Do it in this order
1. Reduce the number of cables. This is the step people skip and it is the one with the largest effect. A single USB-C connection carrying video, data and power replaces three cables. A monitor with a built-in hub — docking ultrawides are the clearest example — means peripherals plug into the screen instead of the computer.
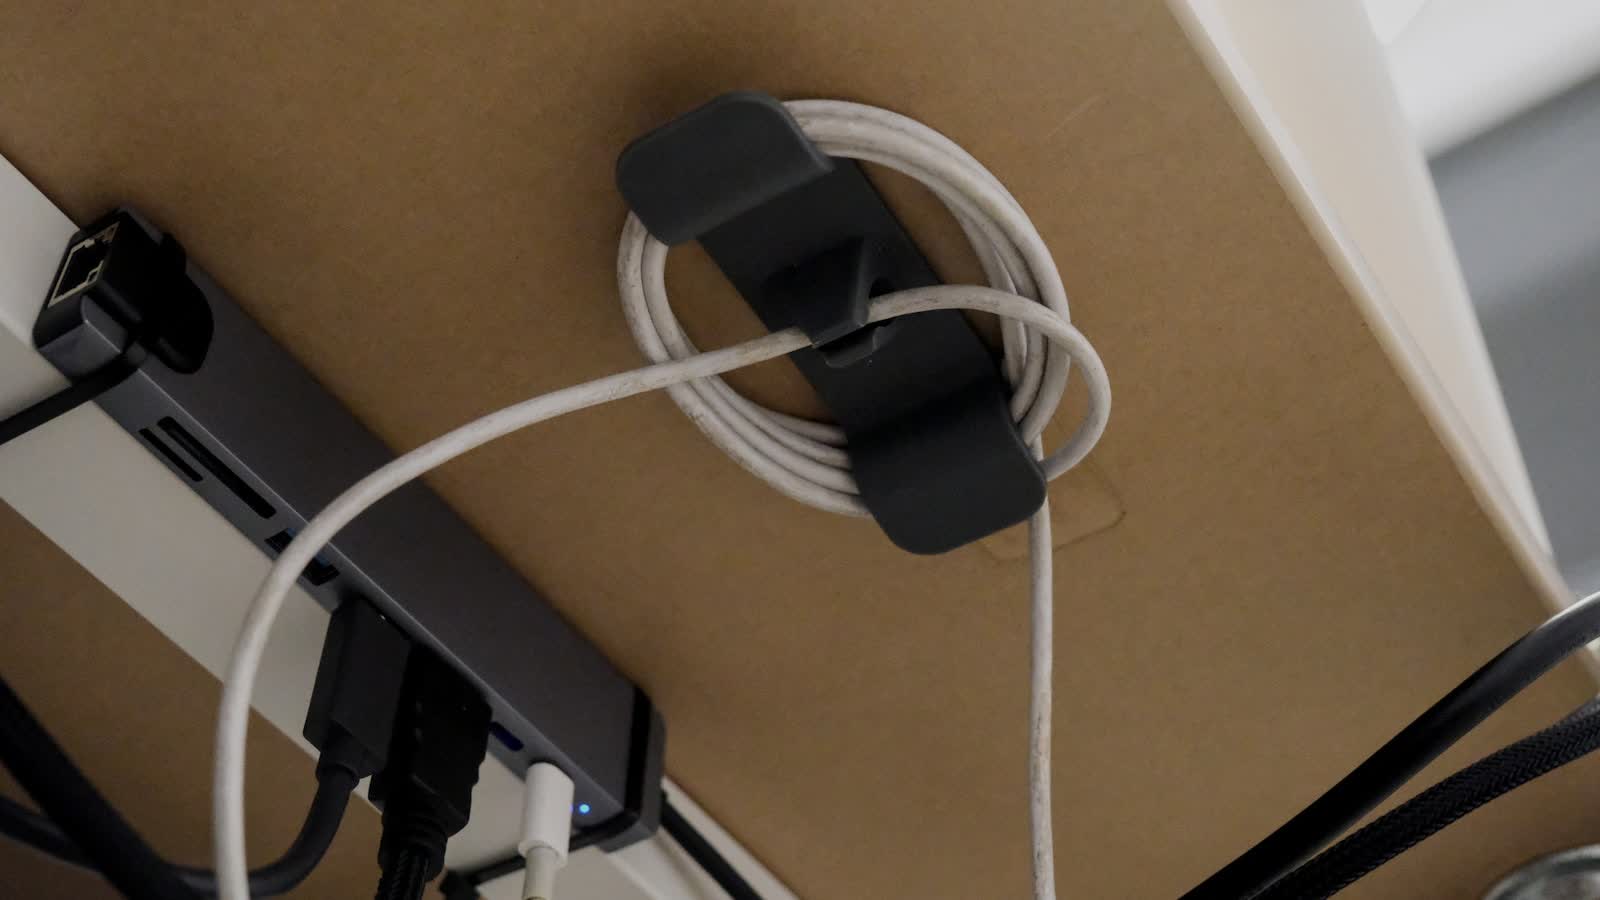
2. Mount the power strip to the desk. Not on the floor. This is the decision that makes everything else work, because it means exactly one cable goes from desk to wall, and on a sit-stand desk it means the strip travels with the top. A desk lamp for screen work plugs into the same strip rather than needing a run of its own.
3. Add a tray for the excess. Power bricks, coiled slack and hubs go underneath, out of sight and off the floor. Underneath is where a tray such as the Uplift Wire Management Tray (at Amazon, opens in a new tab) earns its place; on a fixed desk with a handful of cables, the VIVO Under Desk Cable Tray (DESK-AC06-2C) (at Amazon, opens in a new tab) is the simpler option.
4. Sleeve the visible runs. Only now, once you know what actually runs where. The consumables for this stage and the next come in a kit such as the N NOROCME 192-Piece Cable Management Kit (at Amazon, opens in a new tab).
5. Clip the desk-surface cables. Small adhesive clips at the rear edge stop your keyboard and monitor cables sliding off when disconnected.
The sit-stand rule
Leave slack for full extension, then check it at full height. A cable that goes tight at maximum height will eventually pull a plug out or damage a port, and you will not notice until it does. This applies to every sit-stand desk, crank or motor.
Use hook-and-loop, not zip ties
Your setup will change. Zip ties make every change a cutting job, and overtightened ones can damage cables over time.
The picks
 (opens Amazon in a new tab)
 - Band
- $$ Mid tier
Uplift Wire Management Tray
A deep under-desk tray that holds the power strip too, which is what actually matters.
- Deep enough for a power strip
- Solid steel construction
- Keeps everything attached to a moving desk
- Needs screwing into the desk underside
- Costs more than a basket
 (opens Amazon in a new tab)
 - Band
- $ Budget tier
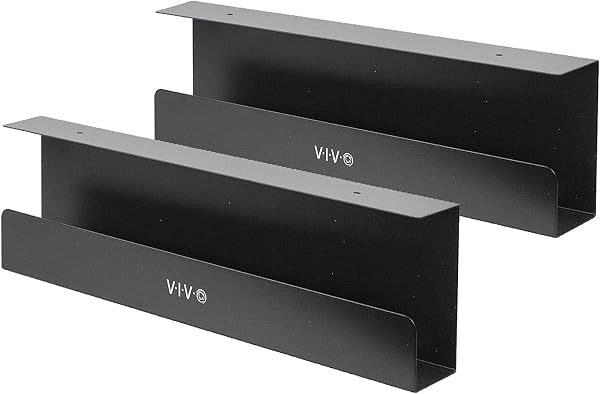
VIVO Under Desk Cable Tray (DESK-AC06-2C)
Two simple low-profile trays that solve most of the problem for very little.
- Inexpensive, and two trays in the pack
- Screws straight into a wood or particle-board top
- Enough capacity for typical setups
- Shallow for large adapters
- Fixed length
 (opens Amazon in a new tab)
 - Band
- $ Budget tier
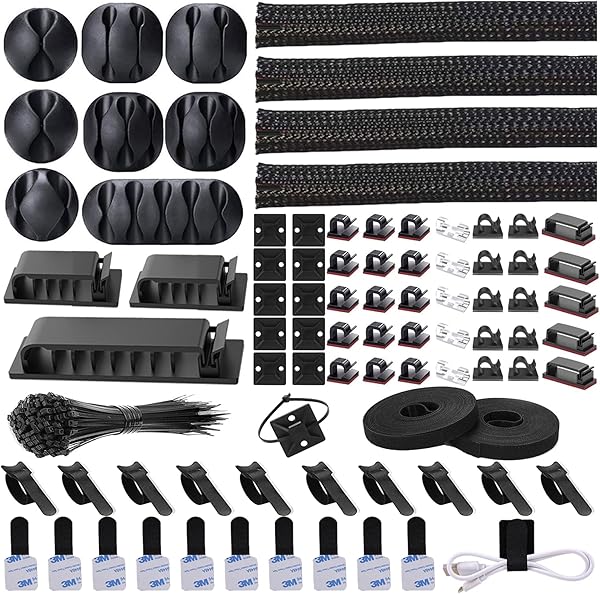
N NOROCME 192-Piece Cable Management Kit
Sleeves, clips and ties — the consumables that finish the job a tray starts.
- Covers all the small parts in one kit
- Reusable hook-and-loop ties
- Cheap
- Does not solve the power strip
- Sleeves come in a fixed 20-inch length
Questions people ask
What is different about cable management on a sit-stand desk?
Everything has to travel with the desktop, and the run to the wall has to tolerate the full height change without going tight. Two rules follow: mount the power strip to the desk itself so only one cable goes to the wall, and leave that cable enough slack for full extension. A cable that pulls tight at maximum height will eventually damage a port or drag the plug out.
Should I use zip ties or hook-and-loop?
Hook-and-loop, essentially always. Zip ties are permanent and you will change your setup — every added device means cutting and redoing the work. Zip ties overtightened on a cable can also damage the conductors inside over time. The reusable option is cheaper in the long run and kinder to the cables.
Uplift Wire Management Tray
A deep under-desk tray that holds the power strip too, which is what actually matters.